Software Development Kit
Next to Classic and Advanced Experiences, you can now also create your own Experience App. It’s designed to help our customers build their own immersive experiences, in-house or with their preferred agency so they can enjoy all the power of Showpad.
Why build your own Experience App?
- Limitless: An Experience is built with HTML, CSS, and JS, so you’re only limited by your imagination
- Easy: Integrate easily with Showpad using the Javascript API and the REST API
- Customizable: Make your Experience configurable so the marketing admin can make adjustments.
- The basic folder structure of your experience is created with npm and the Showpad SDK
- The experience is customized, configured, and tested on your local device
- The experience is packaged into a
.showpadfile - The experience is uploaded into Showpad
- The Admin makes changes to the experience's configuration within Showpad
- The finished experience is deployed to all Showpad users within your organization
    .
    ├── package.json
    └── src
        ├── config.json
        ├── index.html
        └── manifest.json
- Package.json: Identifies and lists basic information about the NPM project. Don't worry about the contents of this file.
- Src: Must contain the files that will be used within your Experience. All user-created files should be in this directory.
- Config.json: Can be used to allow the Showpad admin to make changes to your Experience's content on the fly.
- Index.html: The starting place of your Experiences HTML
- Manifest.json: Contains general information about the Experience App
Build a Basic Experience App

The first step in creating your experience app will be to download and install both Node.js and NPM ( Node Package Manager) to your local machine. The most recent versions of Node.js and NPM can be found at https://www.npmjs.com/get-npm.
Next you'll want to open up your terminal application and create a new project directory using terminal commands
mkdir projectname and
cd projectname. The
mkdir command will make a new directory whereas
cd will change your directory.
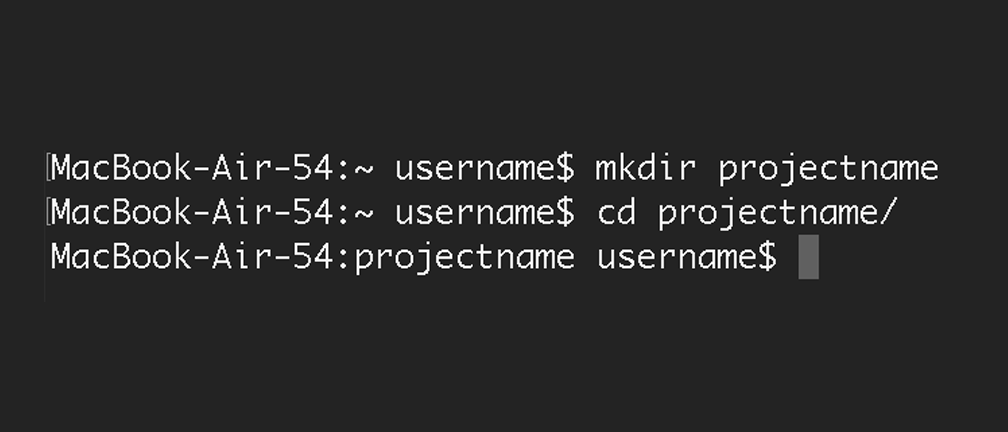
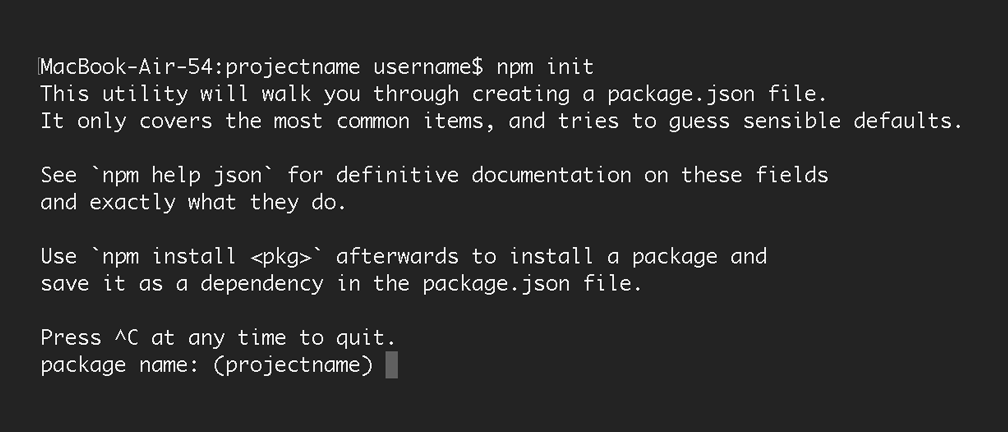
After you've created your project directory run
npm init which will set up a new npm package. Don't worry about filling out the project details, you can
always go back and edit it later.

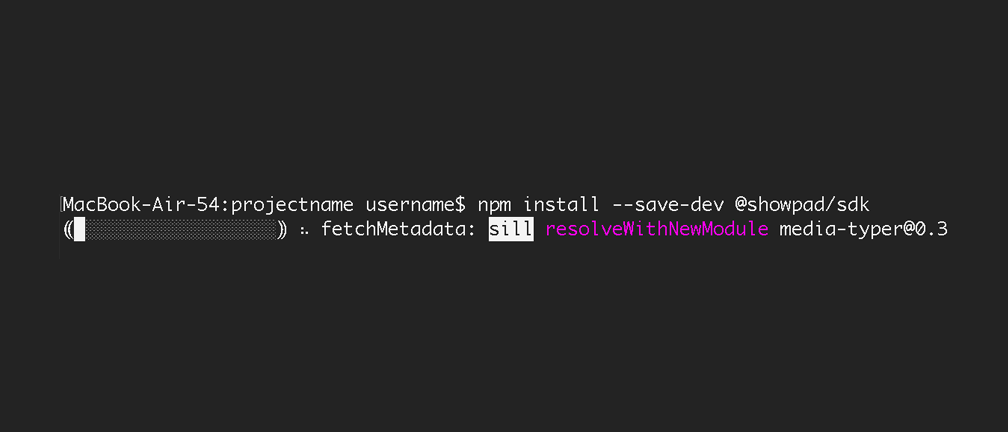
Next you'll want to run the
npm install --save-dev @showpad/sdk command. Just go ahead and grab some coffee while the SDK installs. This line of code will install
the Showpad SDK, making the Showpad CLI available. With the CLI now availabe, you'll be able to testing
and package your experience.
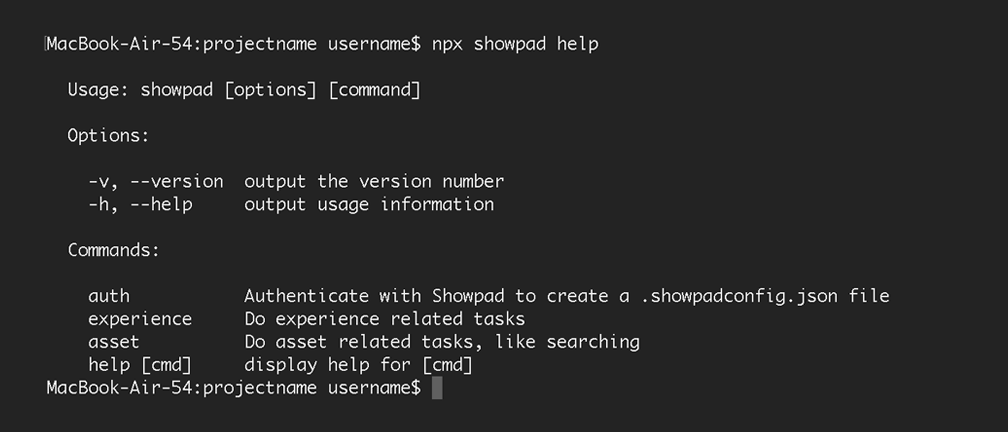
To check if you've installed the SDK properly, go ahead and run
npx showpad help. If all goes well, you'll see all of the commands available to the SDK, including
auth,
experience,
asset, and
help.
Now you'll want to hop into your Showpad admin dashboard. You can access your dashboard by going to https://www.showpad.biz.

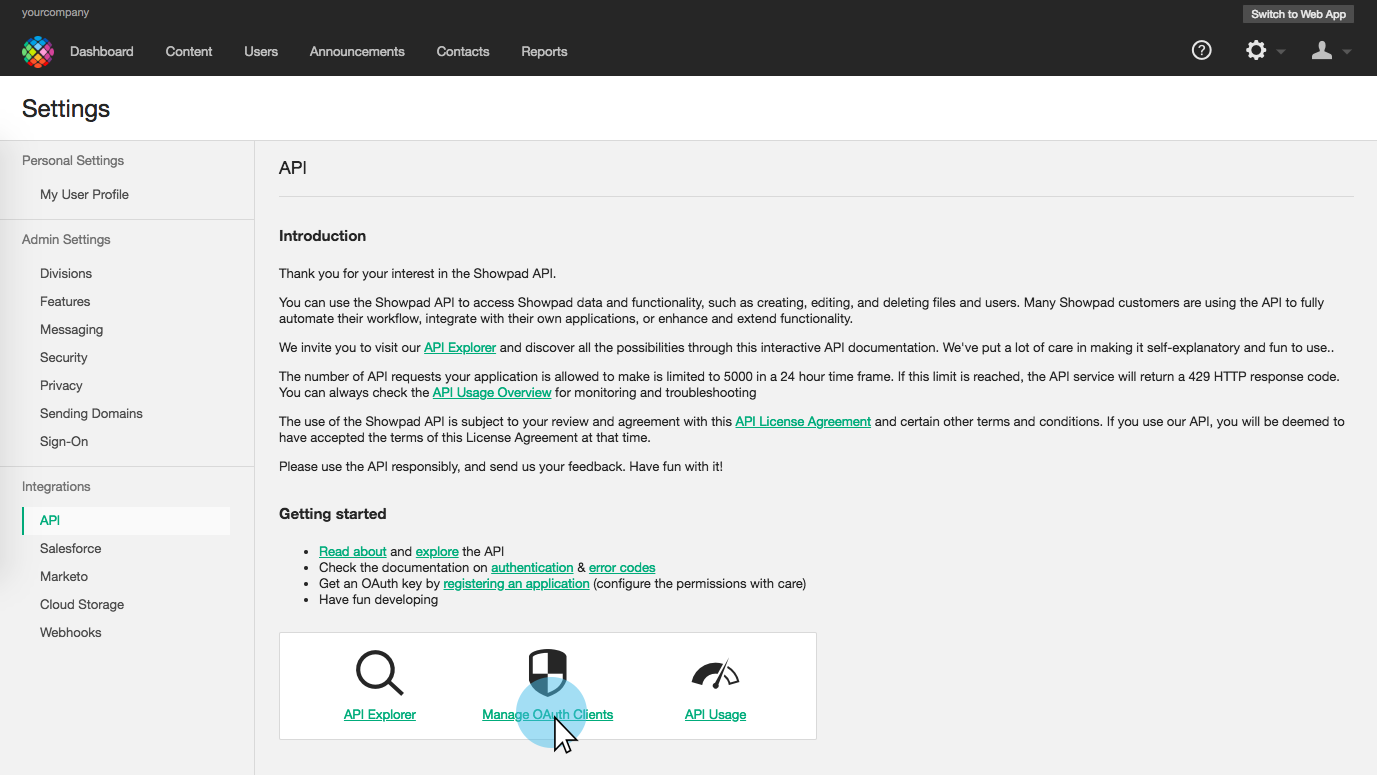
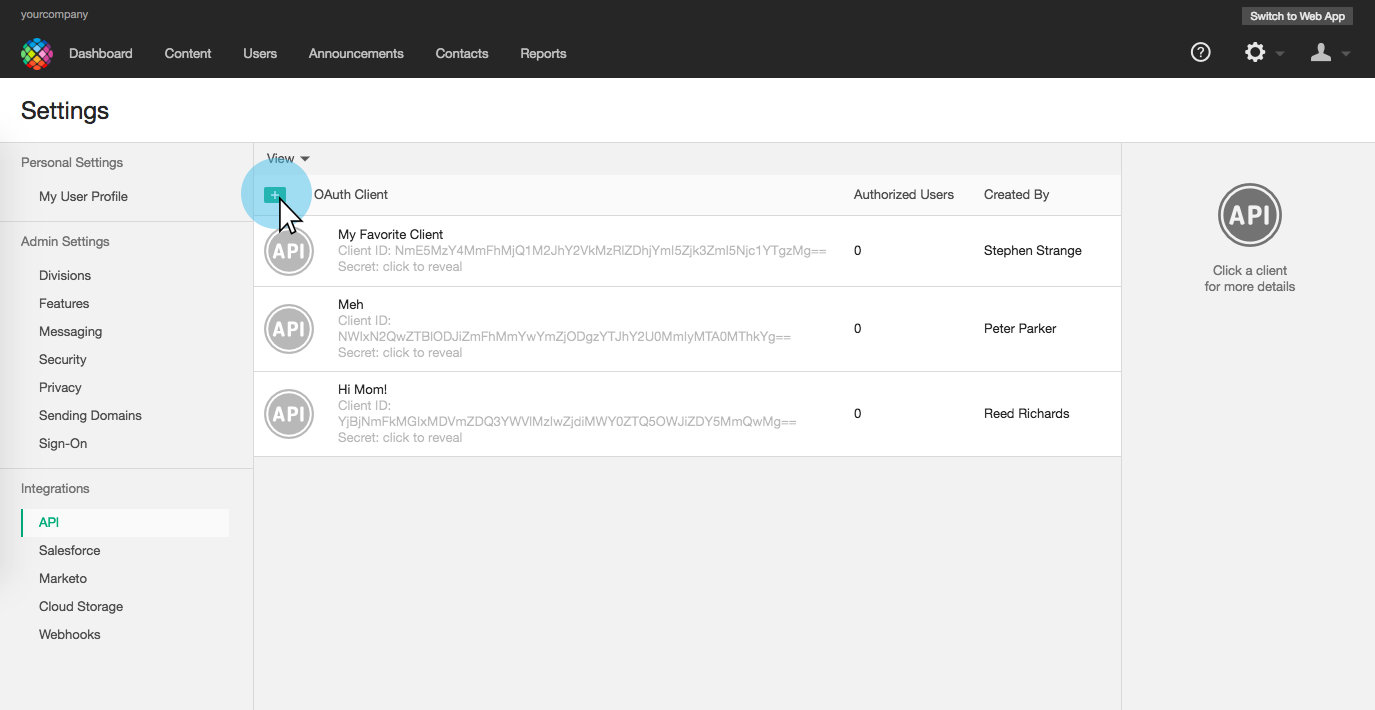
Once inside your dashboard you'll want to get to your OAuth Client Manager. You can get there by going to Settings ⇛ Integrations ⇛ API ⇛ Manage OAuth Clients. Once there go ahead and create a new OAuth Client and fill in all of the relevant details.
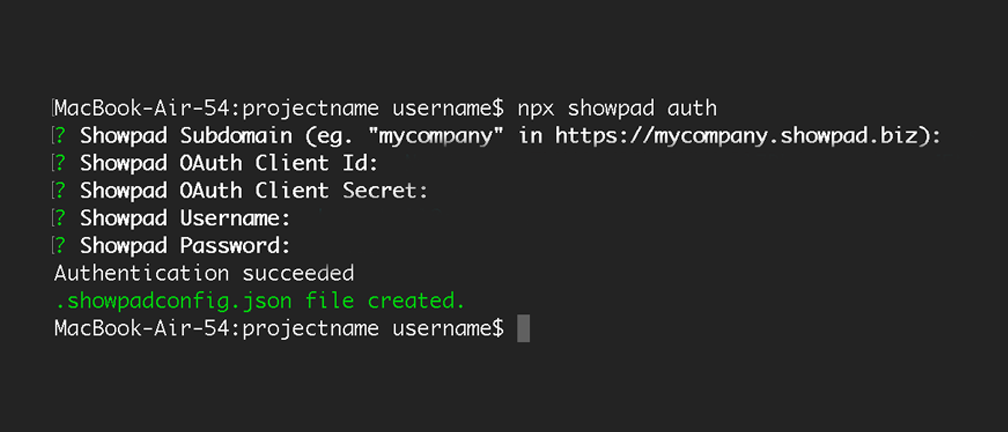
Now that the OAuth Client has been created, go back into the terminal and run
npx showpad auth, making sure to enter your login and OAuth details you just used in the previous steps.
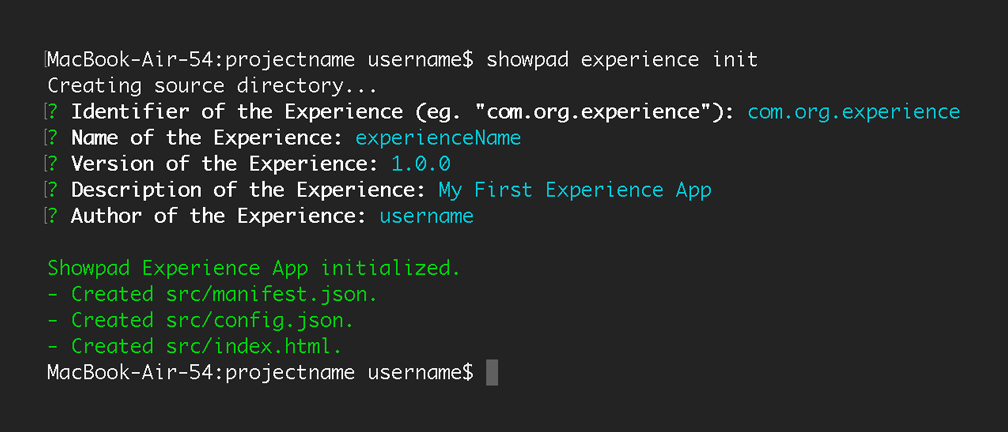
Then you’ll run
showpad experience init and enter in all of your details. This command will create the basic folder structure with the three
basic fields necessary for an experience, the
index.html,
manifest.json, and
config.json.
Experience apps can be customized just like any other web application. A basic example of this process is having an index.html to display your page while having an app.js pulling data from the Showpad Javascript API.
Index.htmlThe
index.html is the entrypoint of your Experience App. When your app is opened in Showpad, this html file is
loaded inside an iframe or webview.
Here is an example of a working
index.html within an Experience App:
    <!DOCTYPE HTML>
    <html>
    <head>
        <meta charset="utf-8">
        <meta http-equiv="X-UA-Compatible" content="IE=edge">
        <meta name="viewport" content="width=device-width, initial-scale=1">
    </head>
    <body>
        <h1>Hello World!</h1>
        <pre id="info"></pre>
        <script src="app.js"></script>
    </body>
</html>The
app.js file will be loaded by
index.html. It is used to dynamically populate the page with information queried from the Showpad Javascript
API.
This is an example of a working
app.js file that pulls data from the Showpad Javascript API:
    var loaded = false;
    window.onShowpadLibLoaded = function () {
        if (loaded) {return;}
        loaded = true;
        var infobox = document.getElementById('info');
        var uinfo = window.ShowpadLib.getUserInfo();
        var dinfo = window.ShowpadLib.getDeviceInfo();
        infobox.innerHTML += "Email:         " + uinfo.email + "\n";
        infobox.innerHTML += "ID:            " + uinfo.id + "\n";
        infobox.innerHTML += "Username:      " + uinfo.user_name + "\n";
        infobox.innerHTML += "Full Name:     " + uinfo.full_name + "\n";
        infobox.innerHTML += "Accessing Via: " + dinfo.app + "\n";
    };
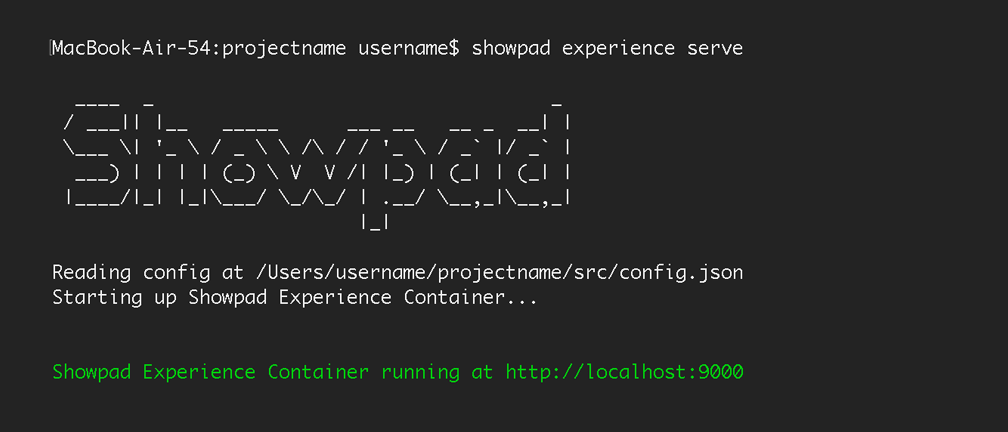
showpad experience serve in terminal, opening your experience on a local host in your browser.
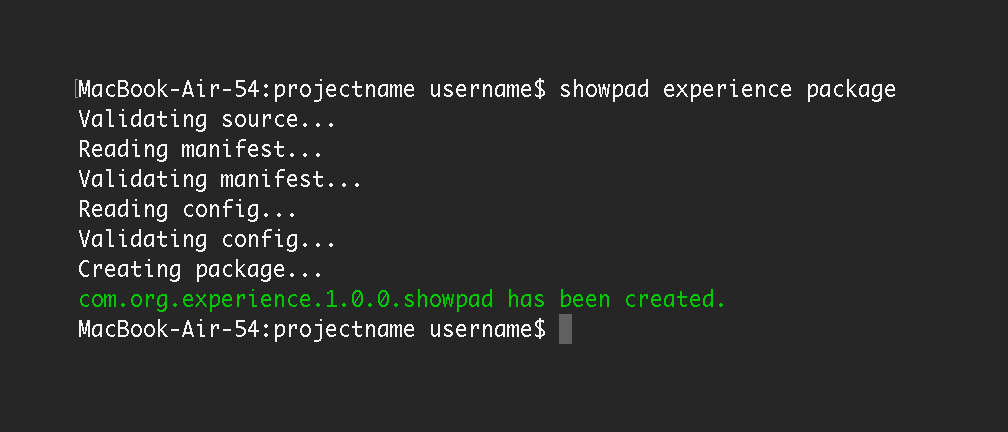
In your terminal run
showpad experience package. This command will create a zipped
.showpad file in your current directory.
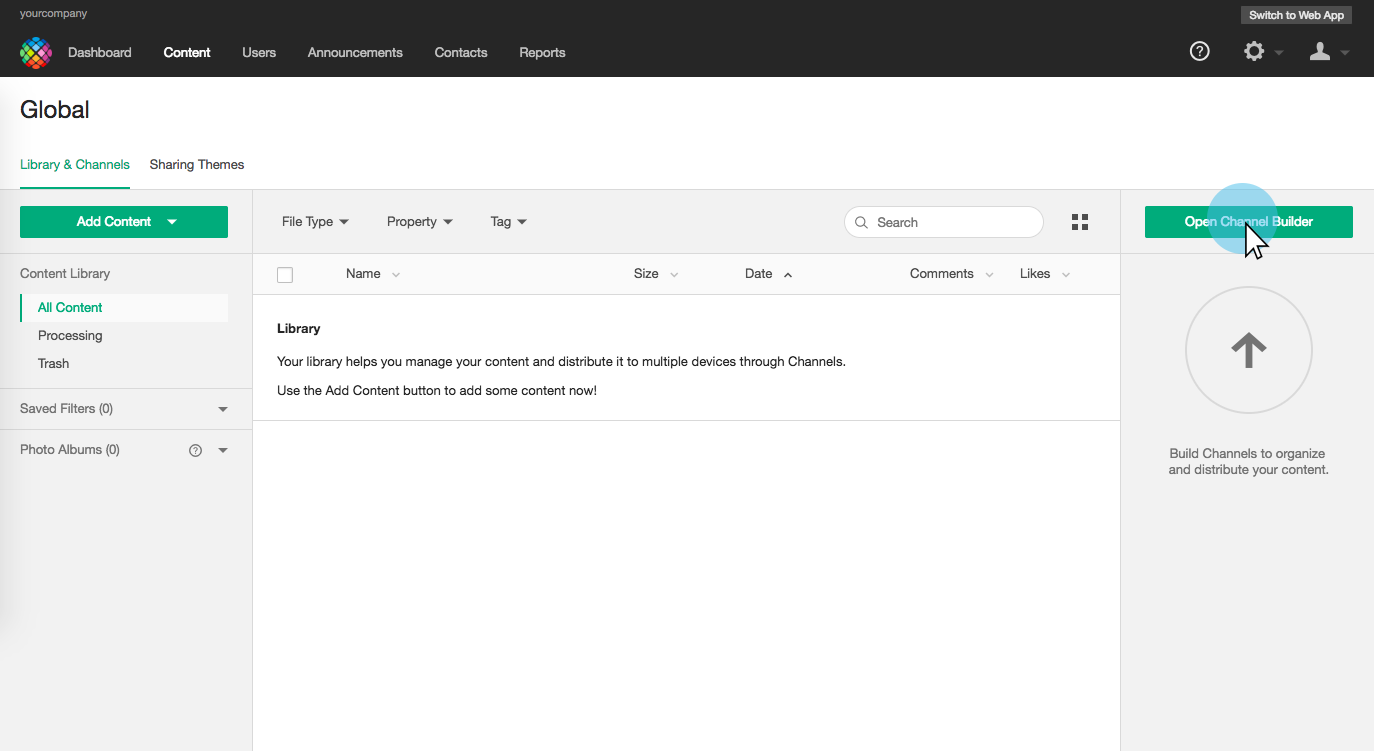
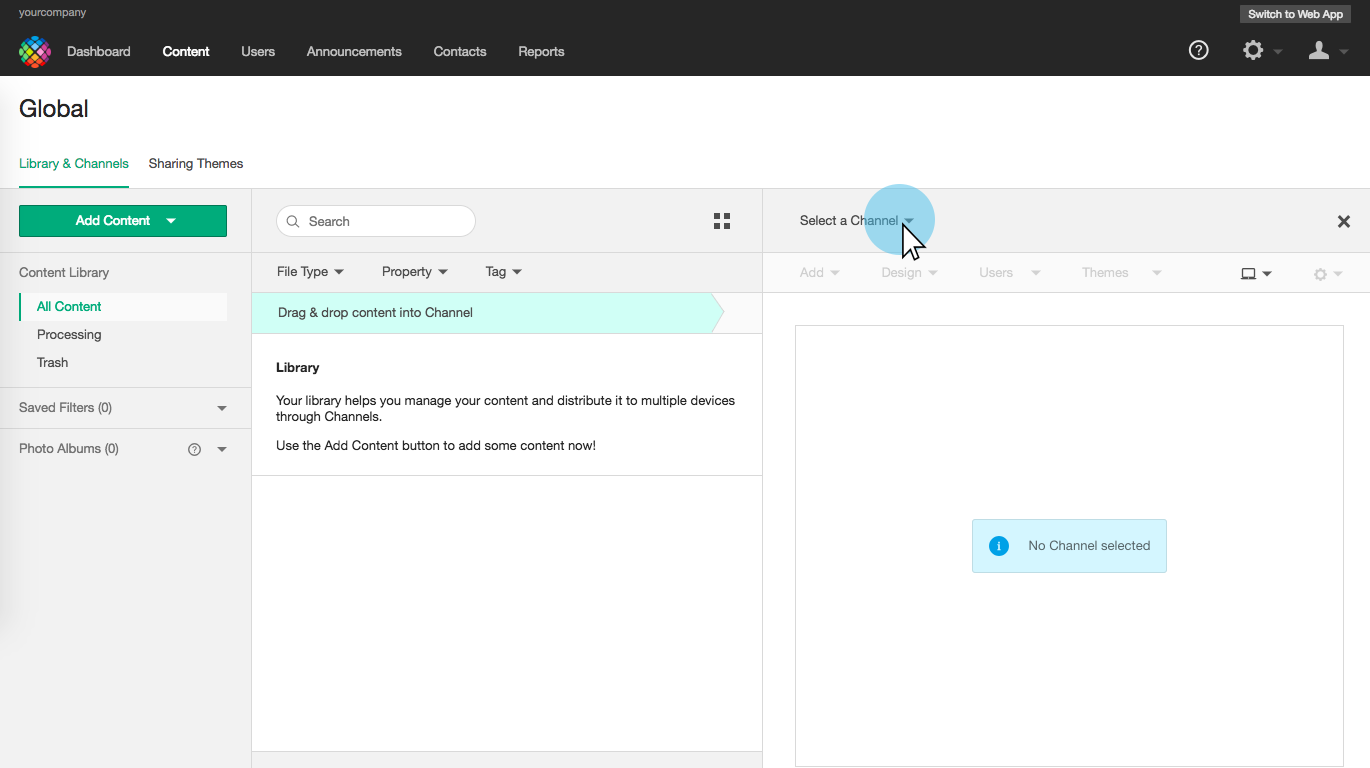
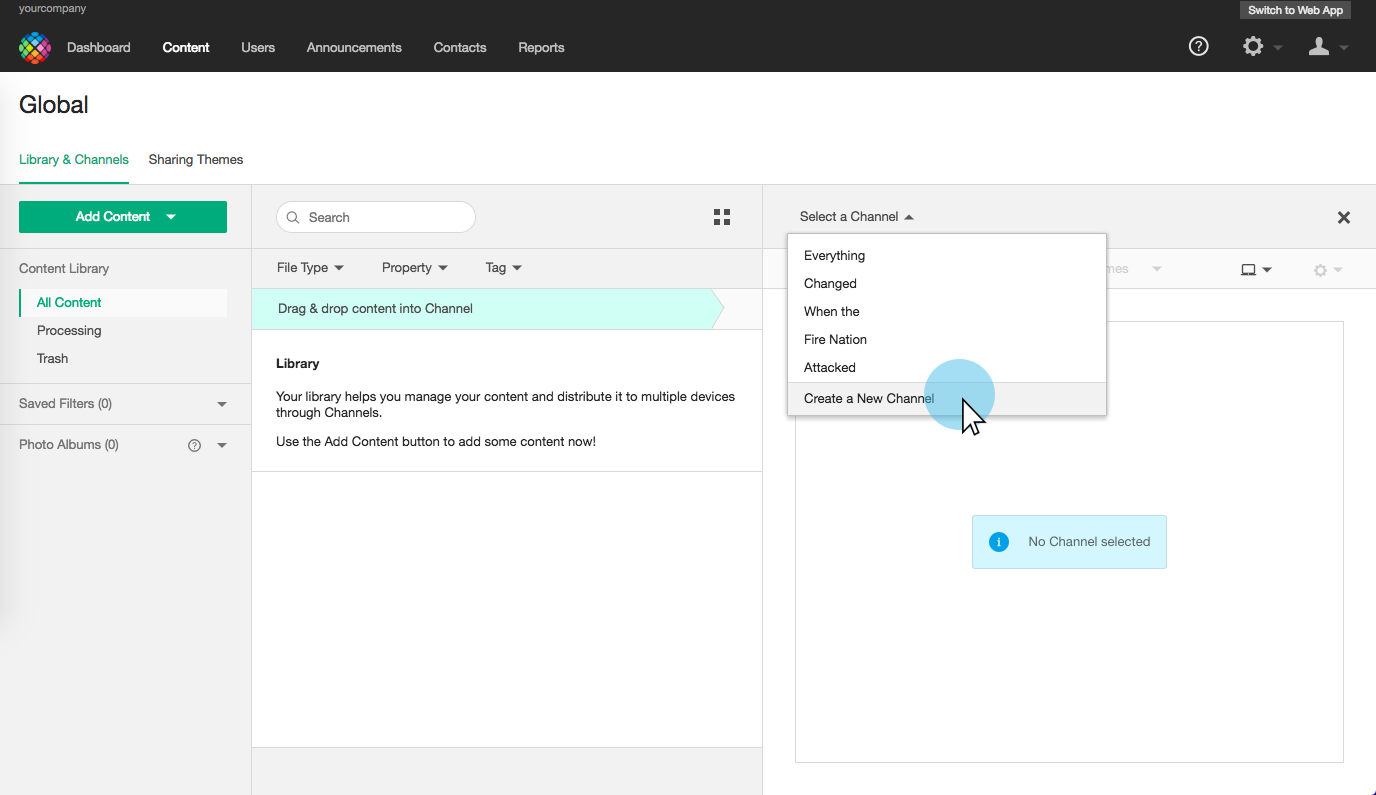
Back in your Showpad Admin Dashboard, create a new Channel by going to Content ⇛ Open Channel Builder ⇛ Select a Channel ⇛ Create a New Channel.
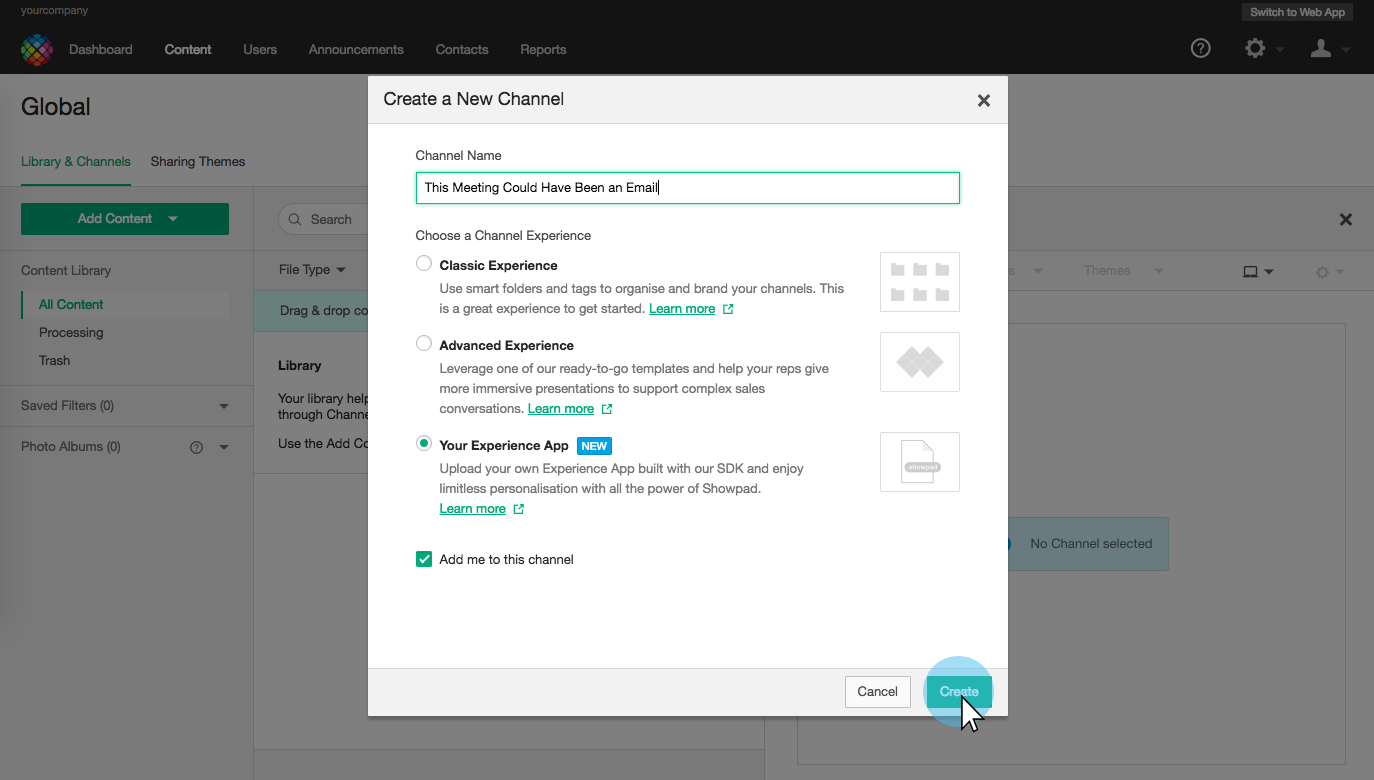
Go ahead and name your Channel once you get there and select the option that says Your Experience App. You're free to create the Channel once you've done that.
Once your Experince App channel has been created you can upload the Experience App by selecting the zipped
.showpad file that was created after running
showpad experience package.
Click Publish Experience and voilà! You've published your first Experience App!
Through the Online Platform, you can upload your Experience App. Part of that process is a validation step to check if the package meets our requirements.
The table below contains an overview of the possible validation errors.
| Key | Message | Description |
|---|---|---|
| wrong-extension | The bundle should have the
.showpad extension |
Your package should have the
.showpad extension |
| invalid-bundle | The bundle could not be read/extracted | The bundle was incorrectly packaged. Best to use the SDK for this |
| manifest-not-found | No
manifest.json found |
We could not find a
manifest.json file in the package |
| manifest-invalid-format | The
manifest.json file could not be read |
The contents of the
manifest.json file should be valid JSON as described above |
| manifest-invalid-contents | The manifest has invalid contents | Identifier and version are not found in the manifest. See above for the correct structure |
| invalid-version | The given version in the manifest is invalid | This version is already used and was used during another upload |
| no-index-found | No
index.html found |
We could not find an
index.html file |
| config-invalid-format | The
config.json file could not be read |
The
config.json file is invalid JSON |
| config-invalid-contents | The contents in
config.json could not be parsed |
The contents member in
config.json has invalid data. (Could be wrong types, wrong structure, …) |
| config-invalid-labels | The labels in
config.json could not be parsed |
The labels member in
config.json has invalid data. (Could be wrong types, wrong structure, …) |
Configure Tour Experience
The
manifest.json contains general information about your Experience App like a unique identifier, version, name,
description, and author.
Here is an example of a working
manifest.json within an Experience App:
    {
        "identifier": "com.showpad.showtime.demo",
        "name": "Showtime Demo",
        "version": "1.0.0",
        "description": "A demo Experience for Showtime",
        "author": "Showpad"
    }
Important note: Each time a new version of an experience is created it is necessary to give the
manifest.json a new, unique, version number in order to package/upload the experience properly.
Support
If you have questions or feedback, please contact us via support@showpad.com.
See the license at https://www.showpad.com/developer-terms